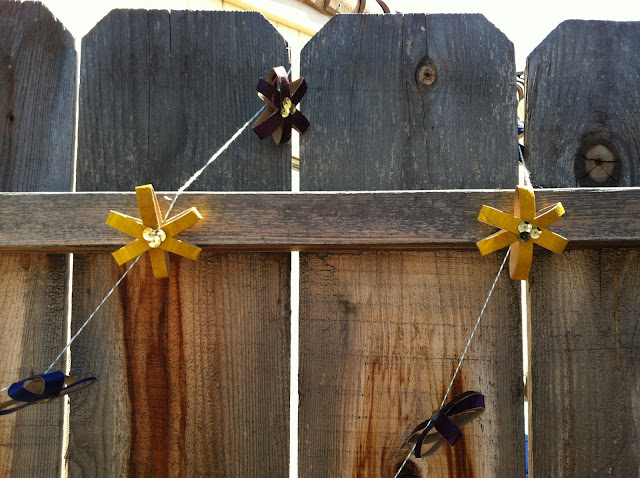
I enjoy crafting, especially when you create something out of found objects and/or items that will end up in the trash or recycle bin. The other day I created a garland for my daughter; flowers out of cardboard tubes (the nice way of saying toilet paper rolls). I had been collecting the rolls for a bit and really wanted to try to make something different and practical. In the past we have made totem poles, owls, a yeti family and Halloween monsters but in effort to not just have another craft item around that we will have to put away, I came up with the garland idea.
Cardboard roll flower garland
Items used:
toilet paper rolls
glue and glue gun
acrylic paint, assorted colors
big paintbrush
aluminum foil as a palette
baker's twine
sequins (I'm sure you can also use precut circle felts, pretty fabric or poms poms. Something lightweight so it doesn't drag it)
I had my daughter paint the rolls in four different colors. After the rolls were dried, I flattened the rolls a bit to make it easier to cut them into circular strips, about 1/4 inch each (more or less). Each flower is three strips put together, held by glue. I grabbed the first strip, dabbed glue in the middle of the top part (not inside the strip) to add the second strip on top in a 'x' shape. I pinched them together, add another dab of glue on top of the cross and put the third ring diagonally (think of putting it inside the 'x' shape). Since we had sequins and my girl does like a bit of bling, we glued three of them in the center to complete the flower. If you decide to use fabric, poms poms or something similar, I am sure hot gluing would be better (and faster). Since I used regular glue, I allowed them to dry overnight.
The next day was hot glue day! I have a love and hate relationship with the glue gun because frankly, I am not that good using it. It does get the job done, even if the globs of glue are super noticeable and unsightly and I have burned myself several times. I grabbed my baker's twine (not cutting it's length yet, pulled it out about a foot before I started to glue the backs of the flowers to place the twine in. I did add one sequin on top (using tweezers to avoid burning myself) and eyeballed the distance between each flower. I set it up so that I had three flowers laid out at a time (how I wanted them on the twine) and glued them, place the string over and added the sequins. After it was done, I added another foot or so of twine and cut it.
So there you have it in a nutshell. I will try to get better at making tutorials! In addition, I have to share that once you have made them, be careful because it tangles up worse then Christmas lights. After I glued the three flowers, letting them dry in between, I just gently pushed them over to work the next three. They didn't tangle during the making but carrying them around was tricky. Also, they do seem to droop a bit downwards once hung up so maybe not gluing them in the middle but on top will help them stay straight.
This is a pretty versatile craft. I was thinking of more color combinations to try, so here goes:
- yellow flowers with black centers for Black Eyed Susans
- white flowers with yellow centers for Daisies
- red flowers with yellow centers for Poinsiettas
- all black flowers for Halloween decor (or orange, yellow and white)
- red and turquoise flowers for a retro Christmas (or traditional holiday colors)
- red, pink and white for Valentine's Day
- harvest colors for Fall
- all white for Winter
- used with regular twine for a more rustic look
Andrea


Thanks for the additional color inspiration!!! Turquoise and red for Christmas!!!! Love it!
ReplyDeleteI thought you would like that one! ;)
Deletewe had a little blog meeting tonight and were chatting about how much we loved this garland from instagram!
ReplyDeleteif you're ever bored... you can always whip up one of your adorable projects for our blog ;)
Many thanks!! I would be honored too! I'm always trying to think up of ways to be creative, hopefully soon I can make up something worthy of your awesome blog!
Delete